

Settings → User & Role.
Roles
Scanner Plus is the role you assign when inviting someone from this screen. It is scoped to the specific events you select, so a scanner working one show cannot see any of your others.
Add a team member
1
Go to Settings → User & Role
Click
Settings in the left sidebar, then open the User & Role tab. Your existing team is listed with each person’s role.2
Click Add a User
The
Add a User dialog opens.3
Enter their name and email
First Name, Last Name, and Email Address are all required. The invite goes to this address.4
Choose a role
Open
Select Role and pick Scanner Plus.5
Assign them to events
Use
Select Events to choose which events this person can work. They will not see any event you don’t select here.6
Click Save
TixFix emails them an invitation. They appear in the user list straight away.
Edit or remove a team member
Each row in the user list has two controls on the right: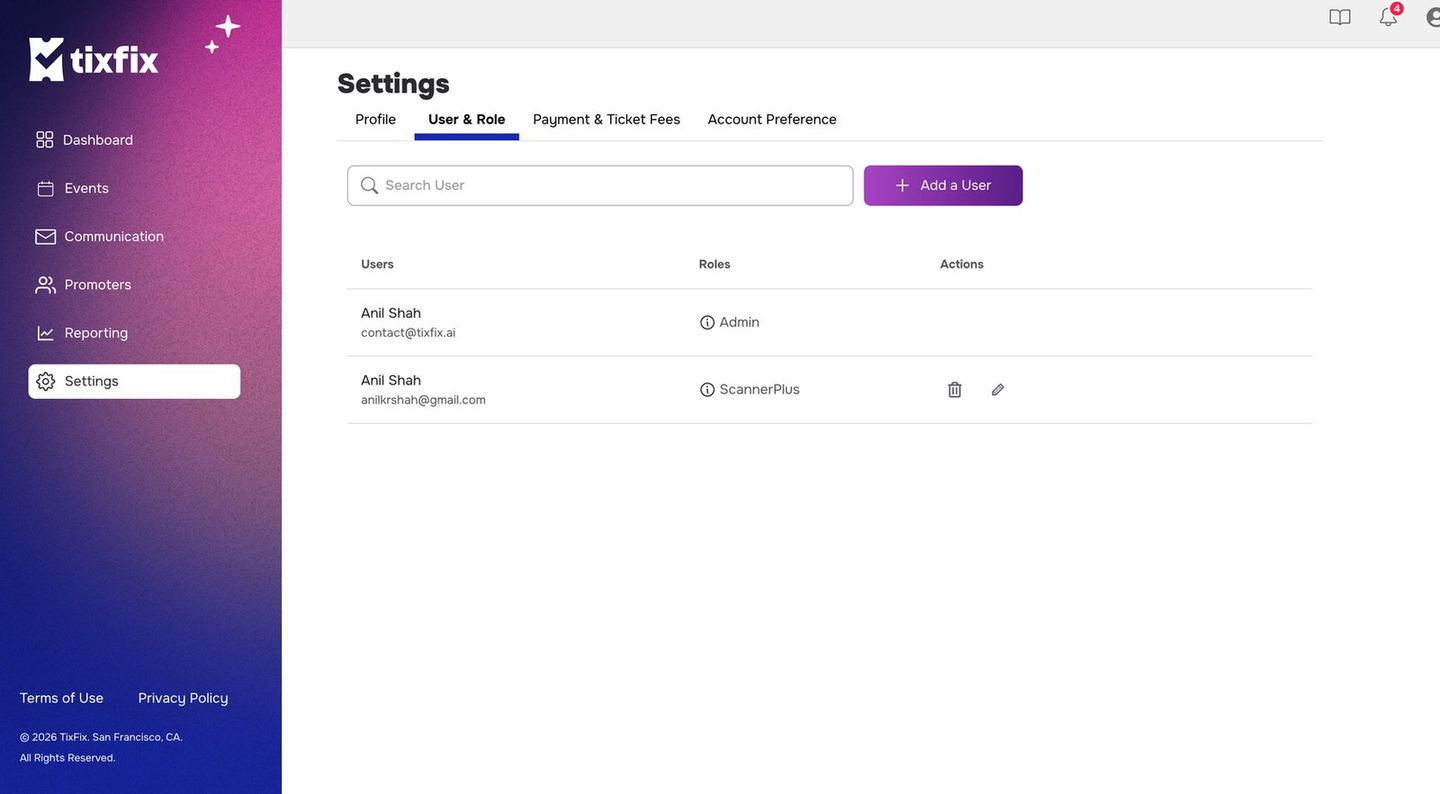
Settings → User & Role, showing an Admin and several Scanner Plus team members
- Pencil — edit the person’s details, role, or assigned events.
- Trash — remove them from your organization.
Securing the accounts you add
Every Admin you add can reach your Stripe connection, your payouts and your attendee list. Ask them to set a password and turn on two-factor authentication once they have accepted their invite — see Account security.Search your team
Use theSearch User box above the list to filter by name once your team grows.