

Settings → Account Preference.
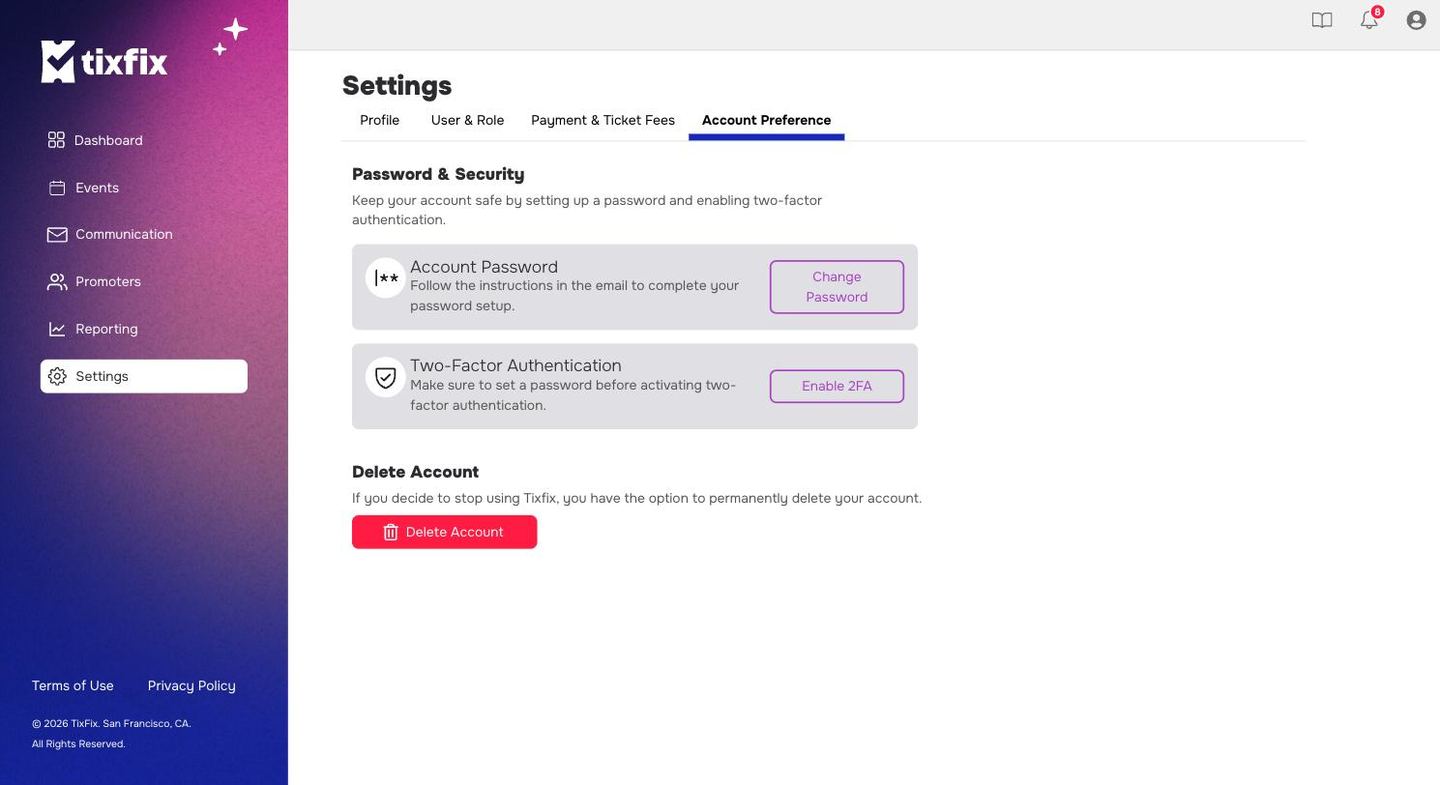
Settings → Account Preference, with password, two-factor authentication and account deletion
Password and security
The Password & Security block holds two controls, and they have to be used in that order.Set or change your password
1
Go to Settings → Account Preference
Click
Settings in the left sidebar, then the Account Preference tab.2
Click Change Password
TixFix emails you rather than changing it in the browser.
3
Follow the instructions in the email
The panel says so explicitly: Follow the instructions in the email to complete your password setup. Nothing changes until you do.
Because the flow runs through email, the address on your account has to be one
you can actually reach. If it isn’t, fix that in
Settings → Profile first.
Two-factor authentication
Two-factor authentication asks for a second proof of identity on top of your password, so a leaked password alone is not enough to get in.1
Confirm you have a password
If you have only ever signed in with Google, set one first using the steps above.
2
Click Enable 2FA
In the Two-Factor Authentication block on the same tab.
3
Finish the setup prompts
Keep whatever recovery method you are given somewhere you can reach without your phone.
Who should have 2FA
Anyone who can move money or change an event. In practice that means every Admin on your organization, because an Admin can reach your Stripe connection, your payouts and your attendee list. Scanner Plus users are lower risk — they can only check attendees in for the events assigned to them, and cannot see revenue or settings. Enabling it for them is still worth doing, but it is not the urgent case. See Team members and roles for what each role can reach.Delete your account
At the bottom of the tab, the Delete Account block reads: If you decide to stop using TixFix, you have the option to permanently delete your account. If you only want to step away for a season, leaving the account in place with no published events costs nothing and keeps your history.If something looks wrong
Signs worth acting on immediately: a team member you do not recognise inSettings → User & Role, an event you did not create, or a change to your
Stripe connection you did not make.
1
Change your password
Using the steps above.
2
Turn on 2FA if it is not already on
This stops a leaked password being enough on its own.
3
Review your team list
Remove anyone who should not be there. See Team members and roles.
4
Check your Stripe connection
Confirm the linked account is still yours in
Settings → Payment & Ticket Fees. See Connect Stripe.Still stuck? Email contact@tixfix.ai with your event name and a screenshot.